Friday, April 26, 2013

Practical Scrappers April Layout Sketch

Today on Practical Scrappers is the April Layout Sketch reveal by Liz Chidester.  Liz's sketches are amazing and so fun to work with!


Using Dear Lizzy's new Lucky Charm collection, here is my take on the sketch! This was one of my favorite collections from Winter CHA!  The colors are absolutely gorgeous! 
 
 
Love the packet of die cuts:  here I used one of the arrows and pennants. The letter stickers are from Jillibean Soup, which I stitched through.

 
More Jillibean Soup letters along with American Craft Thickers. I also used the Studio Calico chevron Mr.Huey mask with Dylusions in white. 

 
Some of the coordinating embellishments: die cuts, flair, and washi tape. The wooden heart is from Freckled Fawn.


Loving the cards that come with the line! 


Layering some of the patterned paper and new vellum!  The stamped sentiment is from one of the clear stamp sets from Lucky Charm.
 
 
Thanks for stopping by! Will be back  next week to share some more projects! 


Thursday, April 25, 2013

Key West


The hubby and I are headed to Key West today (God willing) for our 10 year wedding anniversary. Our anniversary was actually back in October but I was three weeks out after surgery and in no condition to fly anywhere. So, thanks to my inlaws, we are going for a long weekend! 
I actually thought about packing my Project Life stuff with me to do on the airplane but I decided not to hassle with it.  (although it does give me a little anxiety to not be able to have the opportunity to do some creating for a few days)  Don't judge. I know I'm not alone in this LOL
See everyone next week! Meanwhile, I have a layout up on Practical Scrappers tomorrow!  

Wednesday, April 24, 2013

Clear Scraps Hello Spring Wall Hanging

Its my turn on the Clear Scraps blog today! To get in the spring mood, I am sharing a wall hanging I created with the Clearly Framed XL Deco Top Frame Set.  Each set comes with an acrylic and chipboard back piece. 
 
 
I first used gray alcohol ink and colored the acrylic to give it a marbled look.  I then covered the chipboard piece with patterned paper from Simple Stories' new Vintage Bliss line. After carefully trimming the edges, I used a sanding tool to take care of any overlapping paper. 

 
I cut out an oval from another pattern for the center. Using the 6 inch Chicken Wire Mascil and Dylusions spray ink in White Linen, I misted the upper left corner.  I also added a few drips of ink from Studio Calico and Dylusions in blue and yellow. 
 
 
I adhered and stitched a doily onto the oval piece then added the cage and bird from the
Clearly Accent Birds and Cage Embellishment. I used Tattered Angels Glimmer Glam in Chandelier to color the cage. The bird was inked with Ranger Alcohol ink in. I also added a newsprint wing and a rhinestone for his eye.   I used pink tulle trim from Maya Road at the top of the cage. Last, I added paper rosettes and newsprint/vellum butterflies (made from Martha Stewart Craft punches).
 
 
Showing a cluster of paper rosettes and buttons.  I added buttons, rhinestones, and enamel dots as well.
 
 
I created my title with a new favorite set of American Craft Thickers! Love these! I also adorned the page with a clear button and yellow/white bakers twine from Whisker Graphics.

 
Lastly, I used some new yellow/white chevron ribbon from Maya Road to use to hang my frame! Be sure to check out the Clear Scraps blog for more acrylic inspiration!  Thanks for stopping by!


Saturday, April 20, 2013

This is 40....

When I was growing up, 40 seemed so old.  So now that I'm here, I keep thinking its not possible to be this age. Shouldn't I still be 25 or something like that? 
Turning 40 was hard for me..I know it seems vain and its "just a number".  Still kind of tough.  Probably didn't help I had major surgery a few months before and was still trying to find my footing again.  I know this is a common theme in  my life but having a big birthday without my mom sucked.  .
 
 
Um anyway, on to my layout.  I used a photo I "instagrammed" the night of my birthday at The Burger Barge in East Peoria. The only thing I wanted was to have dinner with my family. And you know what? They all indulged me. Dad even brought me a birthday crown and necklace to wear.
 
 
I used the new Echo Park/Glitz Design Photo Freedom line Birthday Wishes that I picked up at The Scrapbooking Studio.  I really love the Glitz girls as I have had a couple of chances to meet them at CHA.  I can only say Erin, Laura, and Ginger are the sweetest!  And mad props to Echo Park too! They always put out great collections! 

 
Here, I used a combination of stickers and pennants made from the patterned papers.

 
Adding some flair from Studio Calico and awesome chevron ribbon from Maya Road!

 
I made my title with letter stickers from October Afternoon and American Craft Thickers. I added a cute little wooden veneer arrow from Studio Calico, as well as enamel dots from My Mind's Eye

 
I just purchased an electric typewriter via Ebay and am loving it! I typed onto the journaling sticker and added some washi tape from the Dear Lizzy Lucky Charm collection, as well as more enamel dots and stamp from K and Co.

 
Huh..Something I've learned with age (somewhat).  Still learning to be comfortable in my own skin.  Believe me, I'd rather know what I know at 40 then go back to being 25 and clueless. Even if I did have better metabolism! I try to keep in mind we are only on this Earth for such a short time. We need to make the most of every day. 

 
Thanks for stopping and reading!  Have a great weekend!


Ready to Go...

Hello everyone...sorry for my absence. Been busy working on projects plus getting ready for Teacher Appreciation week! 
 
Today I'm sharing a layout I created using Simple Stories' new 24/7 collection!  I was inspired to use an Instagram photo from the team at Paper Issues!
The star of my layout is my crazy pug Max!  I snapped this photo of him last November getting ready to go on a walk. Don't you love his coat?
 
 
I had fun layering the patterned papers and coordinating cardstock stickers!  I framed Max's photo in a polaroid cut file from my Silhouette.  I also added some cute flair from The Paper Bakery!

 
I used the coordinating letter stickers for my title then added some splashes of paint from Studio Calico and Maya Road.

 
Loving the cute brads that come with the collection, as well as the fun colors!

 
More layering of stickers!


How do you scrapbook your Instagram photos?  Thanks for stopping by today!!


Thursday, April 11, 2013

Layouts with My Mind's Eye's Boy Crazy

Hello! I'm back with some more projects done with My Mind's Eye's Boy Crazy line!  This time I'm sharing two one page layouts. I loved working with this collection...so perfect for boy pictures! And it helps I have a lot of cute ones of my son when he was small.  In both layouts, he was only 2 yrs old.   I created these layouts for the design team at The Scrapbooking Studio!
 
 For this first one, I used different patterned papers on kraft cardstock.   
 
 
My title is from Basic Grey letter stickers and American Craft Thickers.
I stitched through my letters and added a cute wooden veneer arrow from Studio Calico. I also used my "old school" Heidi Swapp date stamp!  I still need it since I have a lot of photos prior to 2012 that I haven't scrapped yet.  Most of the date stamps don't go back that far!


I added a banner with pennants and flags....both made with punches from Marvy Uchida and Paper Shapers.


I finally broke out my Amy Tangerine stitching set and created this fun arrow with embroidery floss. 

 
I also stitched the laces on the cardstock sticker shoe! 


 For my second layout, I started with white cardstock and added a cut file from the Silhouette.  I added pieces of patterned paper, as well as vellum and sequins behind the chevrons.
 
 
One of the coordinating cardstock stickers. I used a foam pop dot and added a wooden veneer arrow from Studio Calico. 
 
 
My title is made from cardstock alpha stickers from Basic Grey and new American Craft Thickers.
I added some enamel dots from My Mind's Eye (that come with the Boy Crazy collection) and drips of ink. 

 
I used some of the grey/star washi tape that coordinates with the line and used a new turquoise decorative star pin from Maya Road.

 
So if you have boy photos to document, this line is perfect!  So fun to work with!
Thanks for stopping by today! 


Tuesday, April 9, 2013

Clear Scraps Spring Vacation Layout

Today its my turn on the Clear Scraps blog and I'm sharing a layout I created using their fun acrylic and Mascils! I had so much fun making this project. I know the trend right now is to keep your pages "clean" but sometimes I just want to be a bit messy and use different mediums on my projects.


I started with using the 6 inch Chicken Wire Mascil and used Dylusions spray ink in Lemon Zest on each corner.  Then taking the 6 inch Numbers Mascil, I used Claudine Helmuth Studio paint in the center of the cardstock for a background.  I also used my Tim Holtz distress tool and Vintage Photo Distress Ink on the edges of my paper.  Here are some close ups of the different effects you can make with the Mascils:


Next, I took Ranger Alcohol inks and colored the acrylic bird (from the Bird and Cage Clearly Accent Embellishment set) and the Vacation Clear Expression Word Title. 


I finished my layout by adding some wooden veneer pieces from Studio Calico that I colored with spray inks.

 
I also added this stamped camera from the Amy Tangerine Yes Please Clear Stamp Set. I popped it up with foam dots and added some drips of ink as well. 


 Thanks for stopping by today and be sure to check out the Clear Scraps shop to see all of these products and much more!

 
Additional products:  patterned paper:  Basic Grey and Studio Calico; washi tape: Freckled Fawn, stamps: American Crafts; bakers twine: Whisker Graphics.


Saturday, April 6, 2013

My Mind's Eye's Boy Crazy card

 
It's the weekend! I'm back with a birthday card I made with MME's Boy Crazy for The Scrapbooking Studio design team.  I love the layered stickers that coordinate with the line. I used the cute robot on the front of the card.


I added a few of the coordinating enamel dots to the front of the robot to give some dimension.
 
 
The inside of the card:  I used a sentiment from the Hero Arts Birthday clear stamp set. 

 
Thanks for stopping by! Are you working on anything crafty this weekend?


Friday, April 5, 2013

My Mind's Eye's Boy Crazy mini book + giveaway

Hello everyone...I'm back and partially on the mend from being sick. Unfortunately, I am not making the trip to St. Louis today for CKC :(  Susan and I decided it was better for her to find someone else to help out.  Hopefully I can go to the Scrapbook Expo in August. 
 
Anyway, I'm taking the day to just sit in my room and get caught up. I have felt so behind lately. 
 
Today I am sharing a mini book I created for The Scrapbooking Studio design team. I used
 My Mind's Eye's new Boy Crazy line. Love love love the colors and patterns!  The embellishments are pretty great too!  As always, MME doesn't disappoint.  There is coordinating washi tape and enamel dots! 

Here is my cover...I took white chipboard and sprayed it with Dylusions in Sunshine Yellow then covered with different pieces of the patterned paper. 
 
 
Title with letter stickers by Jillibean Soup and American Craft Thickers. I colored my wooden veneer arrow (Studio Calico) with Dylusions in Postbox Red. 

 
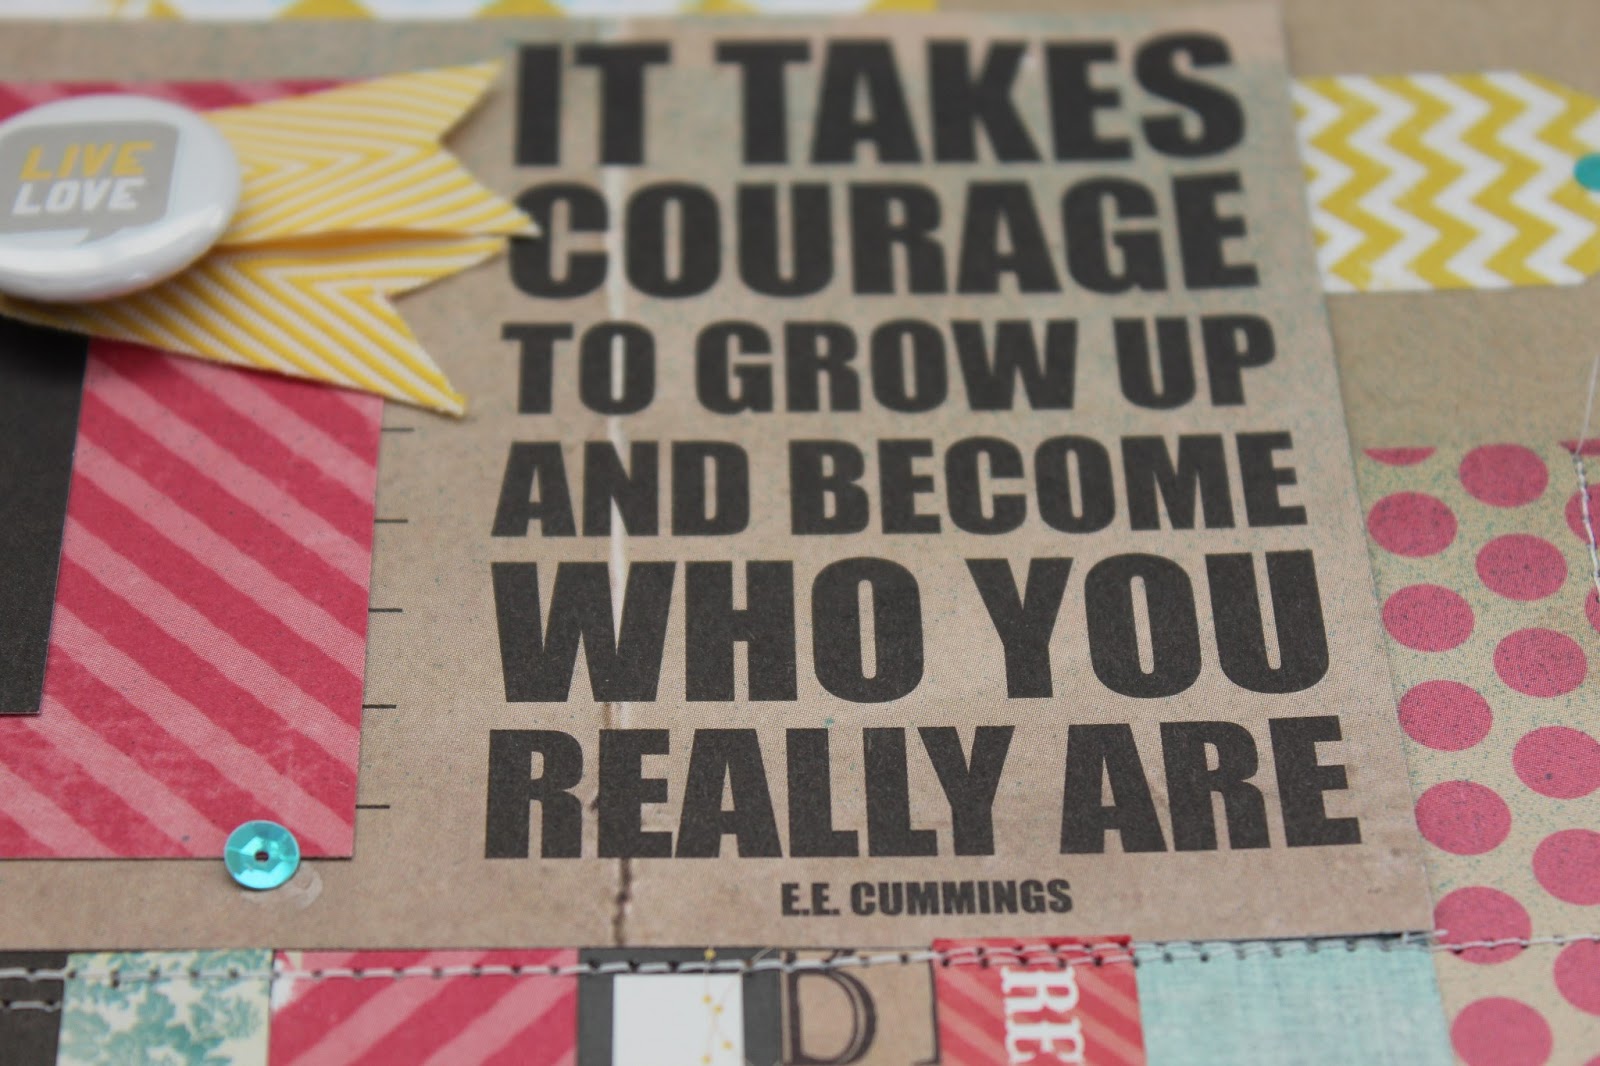
For the inside of the cover, I used my Mr. Huey mask and again used Postbox Red.  The word bubble is cut from the Silhouette. I added some of the chipboard pennants, as well as a cute star pin from Maya Road.

 
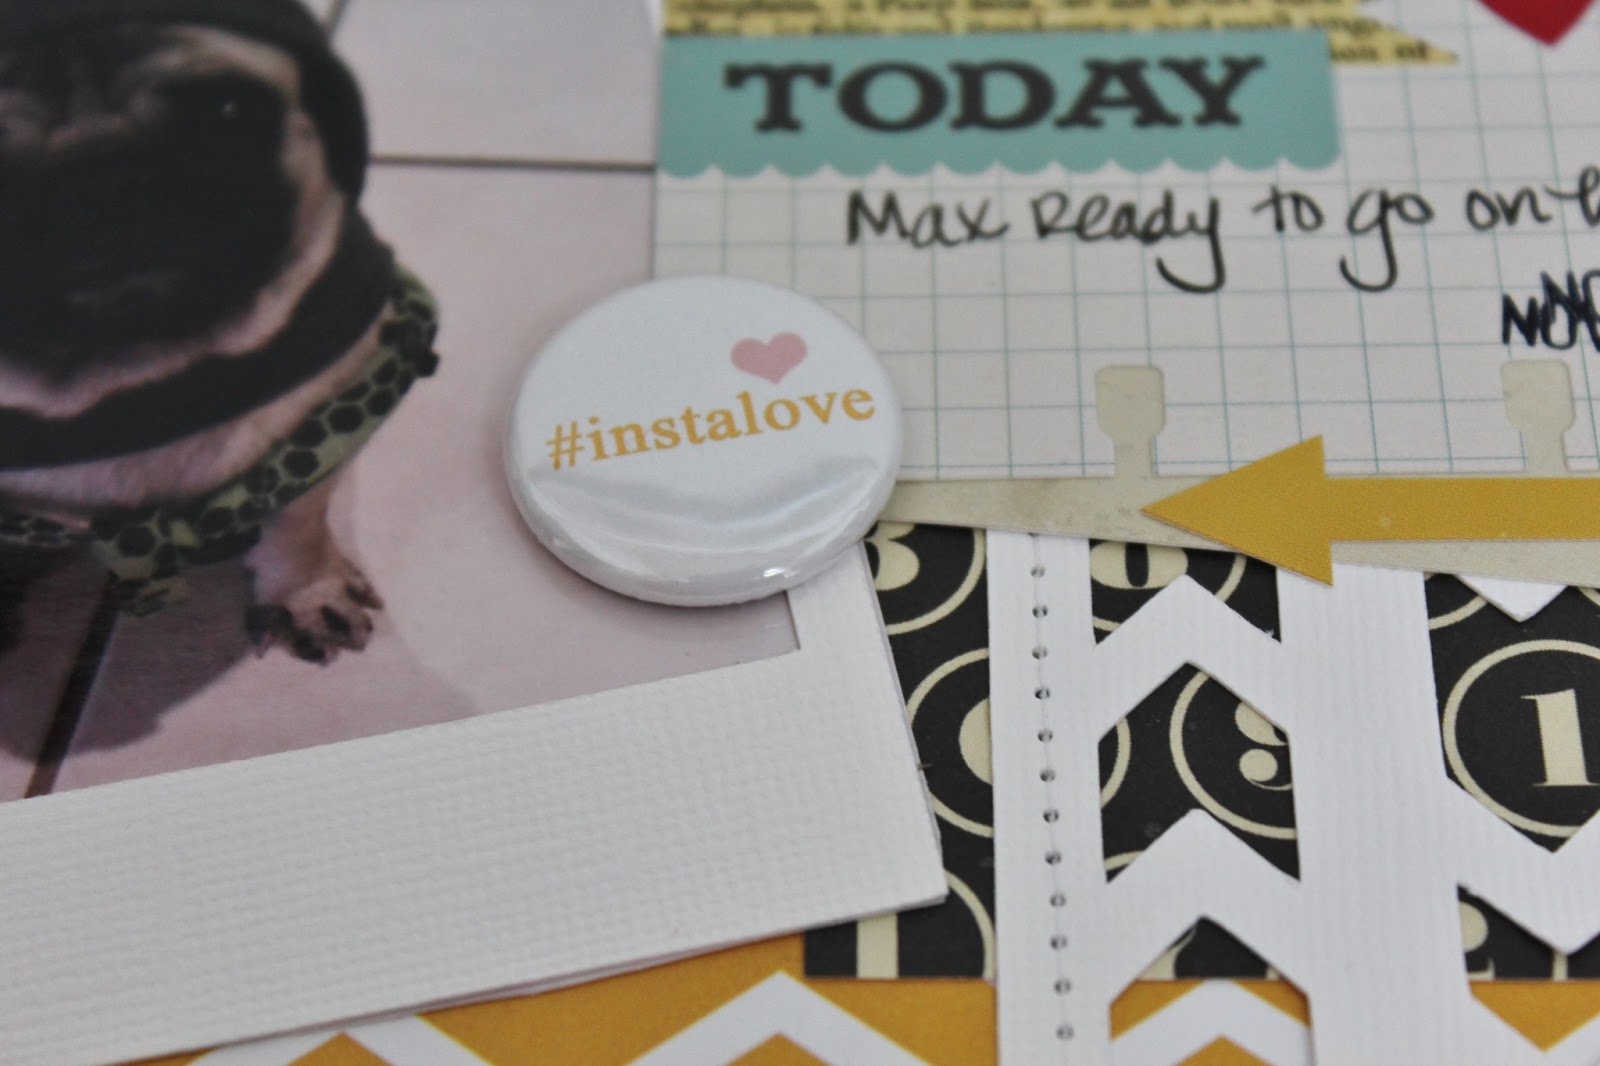
I tried to use up letter sticker throughout my book...it's a great way to mix things up as well as use what is in your stash. Who knew one could have so many sheets of letter stickers!  And I  keep buying more!
 
This page is cut from the 12x12 Clear Scraps acrylic sheet.  Love using these as pages in mini books! 


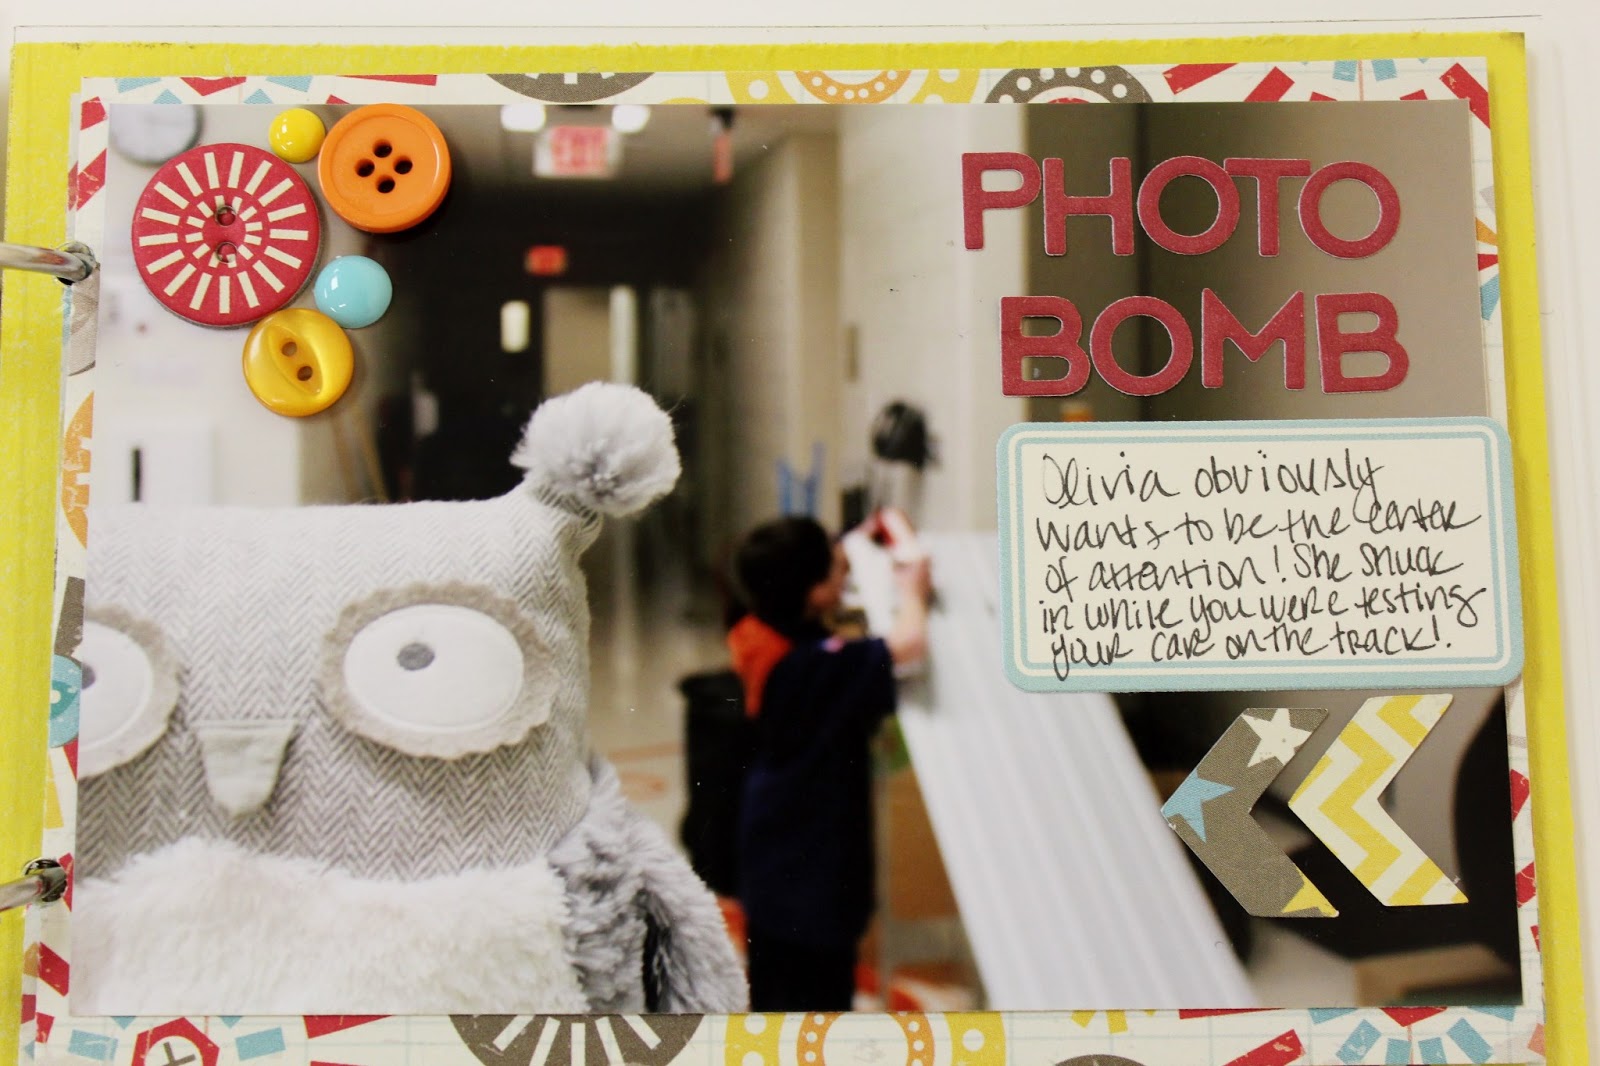
 Here, I used one of the layered stickers...loving the robot theme. I also used more letter stickers from Jillibean Soup (I think I have them in every color!) and my new stamp set from Amy Tangerine's Yes Please. I stamped the ampersand onto patterned paper and popped it up with foam dots.


I made this insert out of a regular business envelope. I inked the edges with Fired Brick Distress Ink from Ranger and then covered with patterned paper and stickers. I adhered the inside together to create a mini card.
 
 
Here is the backside of the insert: I layered cardstock stickers, as well as the coordinating chipboard buttons. 

I also incorporated some of the journaling spots from October Afternoon that I had in my stash.


 The inside of the back cover...I used another cut file from my Silhouette and added the fun star washi tape and more buttons and enamel dots.
 
 
I will be back with more projects I created with this collection! Leave a comment and tell me your favorite MME collection and win a 6x6 paper pad of this line!
 
 Everyone have a fabulous weekend!